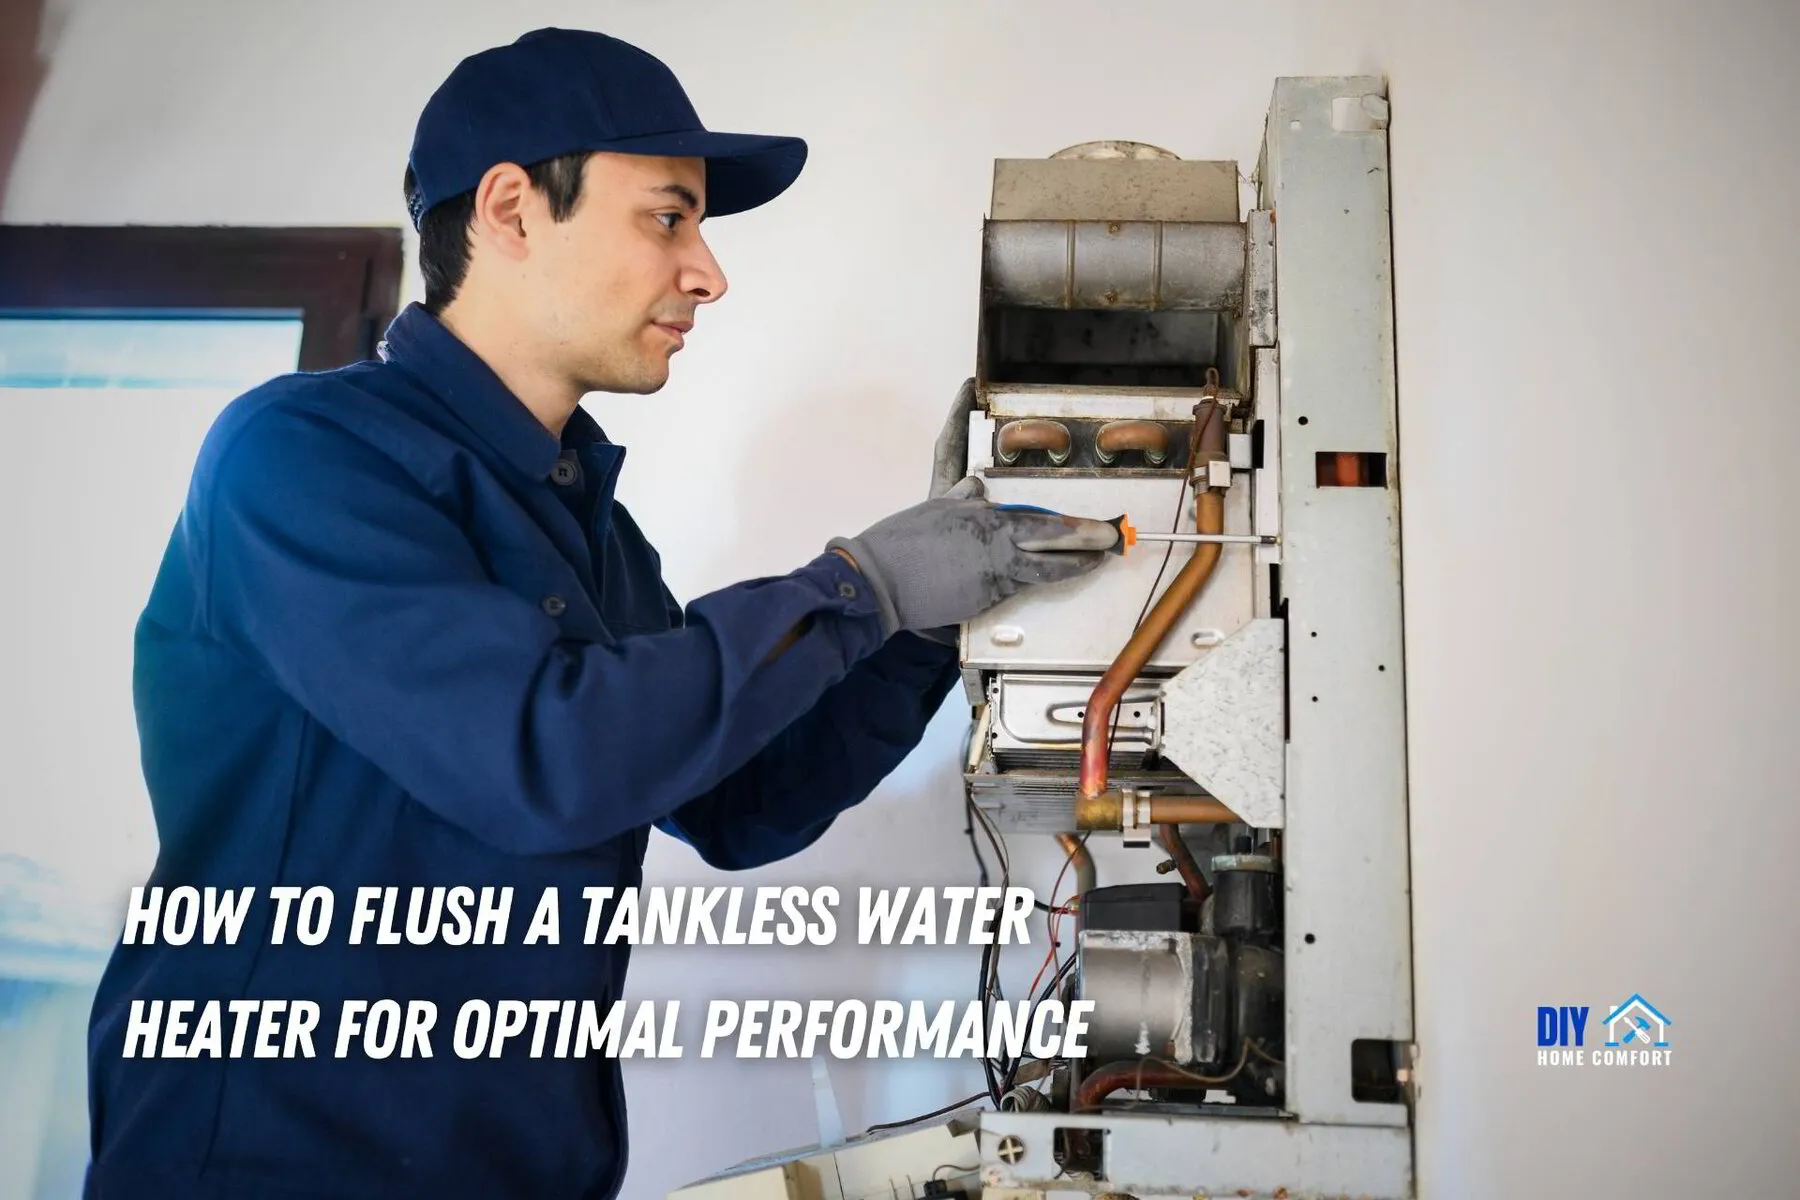
Are you tired of inconsistent hot water temperatures, decreased water pressure, or error codes on your tankless water heater? It might be time for a deep clean!
Flushing your tankless water heater, also known as a flush tankless water heater process, is crucial for maintaining its efficiency and prolonging its life.
This comprehensive guide will walk you through the flush tankless water heater process, providing you with valuable tips for regular maintenance and knowing when to call a professional.
📘 Key Takeaways
Flushing a tankless water heater is essential for peak performance and maintaining efficiency.
Signs that it's time to flush include decreased water pressure, prolonged wait times, and error codes displayed on the unit.
Professional assistance may be necessary if self-maintenance tasks seem daunting or any signs of damage or malfunction are noticed.
The Importance of Flushing Your Tankless Water Heater
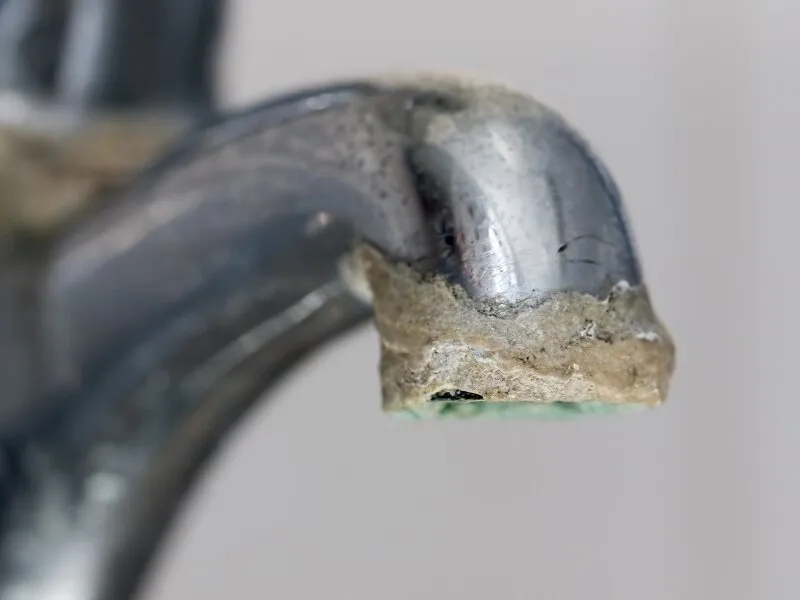
To maintain the effectiveness and durability of your tankless water heater and avoid problems, regular flushing is necessary caused by mineral accumulation, such as calcium carbonate, can cause issues in your water heater system.
Scaling from hard water can reduce the area through which the water can pass in the pipes, affecting the hot water valves in your tankless water heater.
Although some tankless water heaters, such as Intellihot units, feature a patented heat exchanger that can handle 2-3 times more scaling than other heaters, routine flushing remains essential for peak performance, ensuring the tank's heating chamber remains free of buildup.
The flushing process for a tankless water heater involves the following steps:
Run a cleaning solution, such as white vinegar, through the heater to remove mineral buildup.
This helps maintain the efficiency of the heat exchanger inside the unit.
It also ensures that other components, such as the air filter and circulation pump, work properly.
Regular tankless water heater maintenance, including flushing, can prevent costly repairs or even the need for a complete replacement.
Signs It's Time to Flush Your Tankless Water Heater
Decreased water pressure, prolonged wait times for hot water, and error codes displayed on the unit are all indications that flushing your tankless water heater may be necessary.
Ignoring these signs can lead to further complications and decreased efficiency.
Safety demands that the gas line be turned off before initiating the flushing process. If you're not comfortable performing the flushing process yourself, you can always call a professional.
The estimated cost of engaging a plumber to flush a tankless heater ranges from $150 to $250, with $200 being the average cost.
Ultimately, whether you choose to do it yourself or hire a professional, regular flushing is a small investment compared to the potential costs of repairing or replacing a damaged tankless water heater.
Preparing for the Tankless Water Heater Flushing Process
Gathering the necessary supplies is the first step before initiating the flushing process; switch off the power and gas, and identify the isolation valves on your tankless water heater.
The estimated expense for the equipment necessary to flush a tankless water heater for the initial time is approximately $102-$185.
We recommend consulting your tankless water heater's manual, watching relevant videos, and reading pertinent articles before starting the flushing process.
🧰 Gather Your Supplies
You'll need a few supplies to start the flushing process.
These include:
A five-gallon bucket
Two stainless steel washing machine hoses
A submersible pump
Four gallons of white, food-grade vinegar
The hoses will connect to the inlet and outlet valves on the tankless water heater, while the submersible pump will circulate the vinegar solution through the unit to clean it.
You can purchase a tankless water heater cleaning kit online, such as on Amazon, or gather the necessary supplies separately from your local hardware store.
Ensure everything is on hand before beginning the flushing process to ensure a smooth and efficient experience.
🧰 Turn Off Power and Gas Supply
Turning off the power and gas supply to your tankless water heater is crucial before initiating the flushing process.
To shut off the power, locate the circuit breaker panel and identify the switch associated with the water heater, then switch it to the "off" position.
To turn off the gas supply, locate the gas meter shut-off valve, typically found adjacent to the gas meter on the outside of your residence.
Rotate the shut-off valve handle 1/4 turn until it reaches a 90-degree angle, indicating that it is turned off.
This step is crucial to ensure safety and optimal performance during the flushing process.
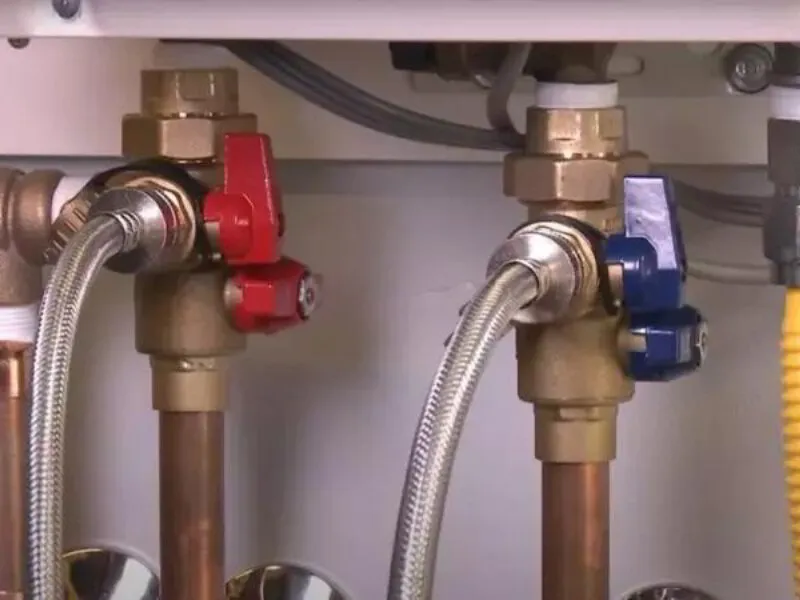
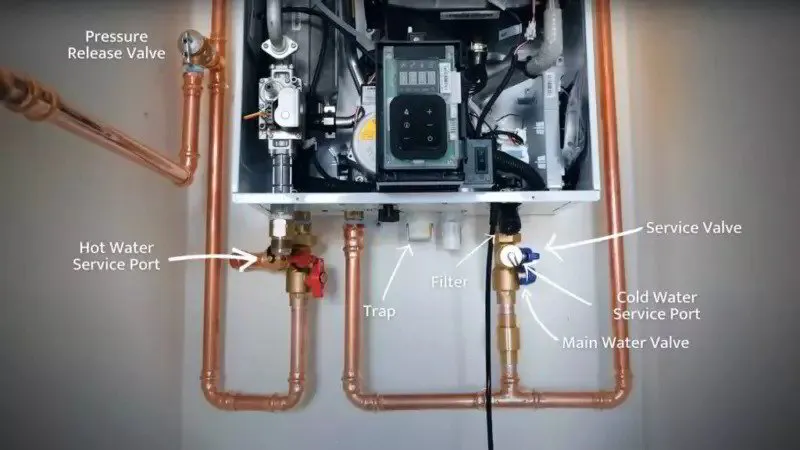
🧰 Locate Isolation Valves
Locating the isolation valves on your tankless water heater is necessary before initiating the flushing process.
These valves are color-coded and found underneath the tankless water heater, and they are used to shut off the water and gas supply to the unit.
Ensure the levers are perpendicular to the pipes, indicating that the shutoff valves are off.
Disconnect the unit from the wall socket as an added safety precaution.
Step-by-Step Guide to Flushing Your Tankless Water Heater
With the preparation done, you can now proceed with our step-by-step guide to flush your tankless water heater.
By connecting hoses, preparing a vinegar solution, flushing the system, and rinsing with fresh water, you'll have a clean and efficient tankless water heater in no time.
🧰 Gather Your Supplies
You'll need a few supplies to start the flushing process.
These include:
A five-gallon bucket
Two stainless steel washing machine hoses
A submersible pump
Four gallons of white, food-grade vinegar
The hoses will connect to the inlet and outlet valves on the tankless water heater, while the submersible pump will circulate the vinegar solution through the unit to clean it.
You can purchase a tankless water heater cleaning kit online, such as on Amazon, or gather the necessary supplies separately from your local hardware store.
Make sure to have everything on hand before beginning the flushing process to ensure a smooth and efficient experience.
🧰 Connect Hoses to Inlet and Outlet Valves
First, connect the hoses to the inlet and outlet valves on your tankless water heater, as per the manufacturer's instructions.
The standard size of hose connectors for tankless water heater isolation valves is 3/4 inch NPT thread.
Washing machine hoses may be suitable to connect the isolation valves and sump pump, provided they can accommodate the connector size on the sump pump.
🧰 Prepare Vinegar Solution and Submersible Pump
Next, fill a 5-gallon bucket with 4 gallons of food-grade white vinegar and attach the hose going into the cold water service valve to the top of the sump pump.
The vinegar will serve as a mild acid to dissolve mineral buildup, particularly calcium deposits, on the interior of the heat exchanger in your tankless water heater.
🧰 Begin Flushing Process
With everything set up, it's time to begin the flushing process.
Here's what you need to do:
Place the hose attached to the hot water drain in a bucket.
Start the submersible pump.
Allow the vinegar solution to circulate through the tankless water heater.
It is recommended to flush the tankless water heater with vinegar for 1.5-2 hours.
This will help remove any scale buildup and improve the performance and efficiency of the unit.
🧰 Rinse System with Fresh Water
Once the system has been flushed with vinegar, the next step is to rinse the tankless water heater with fresh water.
Here's how to do it:
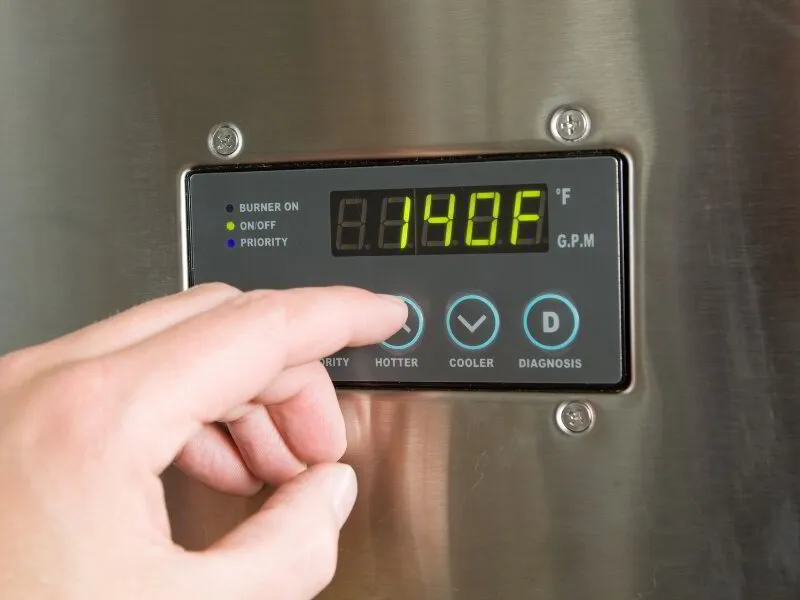
Set the water temperature for rinsing between 104 to 140 degrees Fahrenheit (40 to 60 degrees Celsius).
Let the water circulate for a minimum of 1-2 hours.
This will help flush any remaining vinegar and scale particles out of the unit.
Cleaning and Replacing Filters During Flushing
While flushing your tankless water heater, it's also a great opportunity to clean the in-line water filter and inspect the air filter, replacing it if necessary.
This will help maintain the optimal performance and efficiency of the tankless water heater by ensuring clean water flows through it, and proper airflow is maintained.
🧰 Clean In-Line Water Filter
The in-line water filter prevents sediment, scale, and other impurities from entering the heater and potentially causing damage.
Clean or replace the in-line water filter regularly, depending on the hardness of the water in your area.
To clean the in-line water filter, remove and rinse it under running water or soak it in white vinegar until it is debris-free.
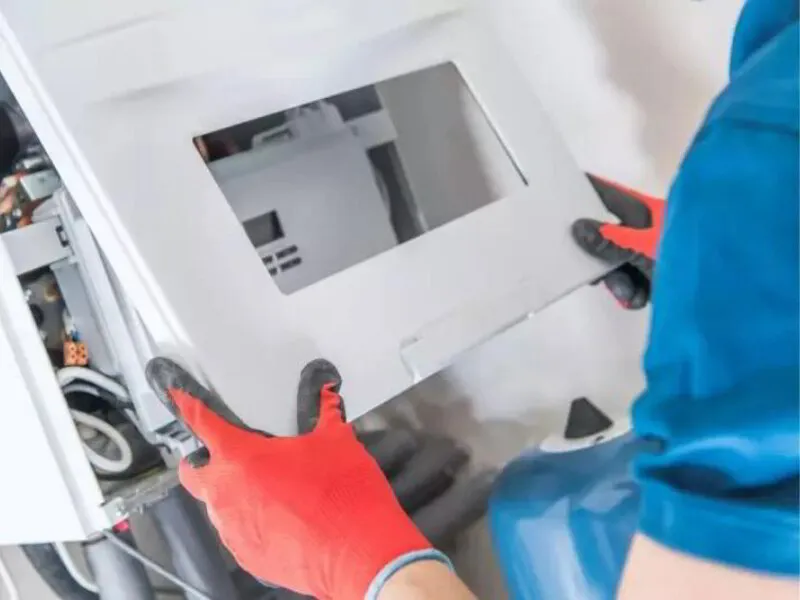
🧰 Inspect and Replace Air Filter if Necessary
The air filter in a tankless water heater should be replaced at least every six months or more frequently if the flow of hot water is reduced.
Signs that the air filter needs replacing include:
Decreased hot water pressure
Lukewarm water
The water heater repeatedly turns off
Evidence of corrosion or rust on the air filter or inlet.
To replace the air filter, follow the steps outlined in the knowledge base.
Restarting Your Tankless Water Heater After Flushing
After completing the flushing process, you can restart your tankless water heater.
Follow these steps:
Reassemble all components, ensuring that all service caps are firmly tightened.
Open the valves in the correct order: first, the cold water valve, followed by the hot water valve, and then the gas and central circulation valve.
Finally, plug in the tankless water heater and turn it on.
After restarting the water heater, check for proper operation. The display may present certain icons.
If you encounter any issues or notice unusual behavior, consult your tankless water heater manual or contact a professional for assistance.
Tips for Regular Tankless Water Heater Maintenance
Regular maintenance is key to prolonging the life and efficiency of your tankless water heater. In addition to annual flushing, this includes checking for leaks and inspecting the venting system.
By conducting regular maintenance, you ensure optimal functioning and an extended lifespan for your tankless water heater. If self-performing maintenance tasks seem daunting or you notice signs of damage or malfunction, seeking professional assistance is advised.
By investing in regular maintenance, you can prevent costly repairs or even the need to replace your tankless water heater completely.
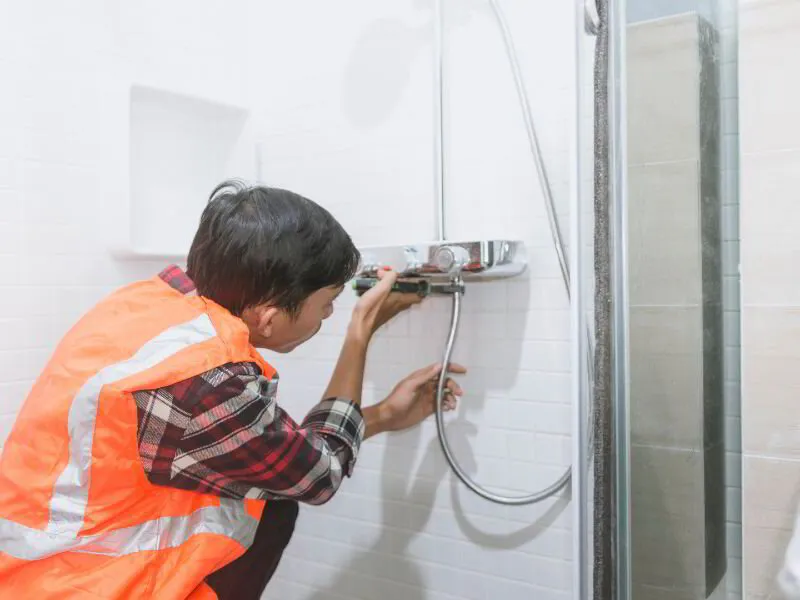
When to Call a Professional
Knowing when to call a professional for assistance with your tankless water heater is always a good idea.
If you experience continuous difficulties or are uncertain about undertaking the flushing process independently, seeking professional help is prudent.
A professional can ensure that your tankless water heater is working optimally and address any issues that might arise, ultimately saving you time, money, and frustration.
Want To Watch a Video?
Summary
Flushing your tankless water heater is crucial to maintaining its efficiency and prolonging its life.
By following this comprehensive guide and regularly performing maintenance tasks, you can prevent costly repairs and ensure a reliable supply of hot water for your home.
So, go ahead and give your tankless water heater the care it deserves – you and your family will reap the benefits for years to come.
Want to learn more about your home? Check out our other homeowner articles!
Scott Harding
Scott is the main author of DIY Home Comfort. He's also an experienced HVAC technician that enjoys home renovation and spending time with his family. You can find out more about him here.
Frequently Asked Questions
Do tankless water heaters need to be flushed?
Tankless water heaters must be flushed at least once per year and done more frequently for homes with hard water. This is important in order to keep the warranty valid and maintain optimal performance.
How much does it cost to have a tankless water heater flush?
A tankless water heater flush usually costs between $150 and $250, so it's best to leave the job up to a professional.
How long does it take to flush a tankless water heater?
Flushing a tankless water heater is a simple task that takes 1-2 hours to complete.
Can I flush my water heater myself?
You can flush your water heater yourself if you have the skills, tools, and time. Alternatively, you can turn to the professionals to ensure the job is done correctly.
How often should I flush my tankless water heater?
It is recommended to flush your tankless water heater at least once a year.