Level 1 vs Level 2 Charging: Which Do You Need?
Find out whether Level 1 or Level 2 charging fits your daily driving. Compare charging time, installation costs and the time your car is plugged in.
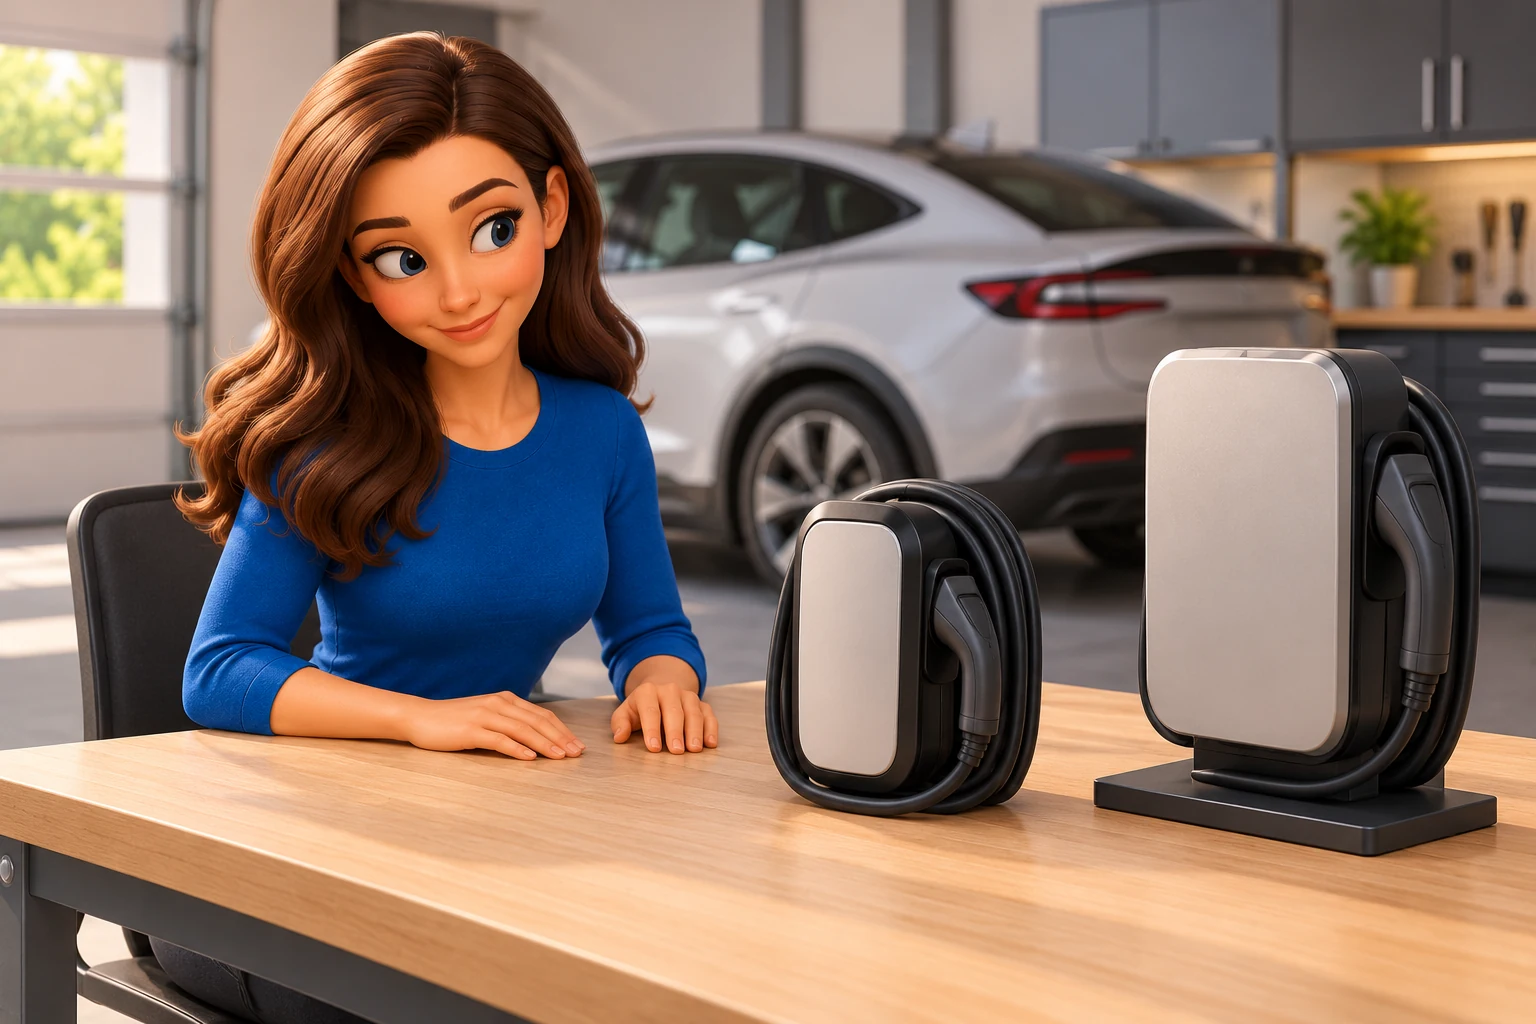
The Level 1 vs Level 2 charging choice starts with your daily driving. Can you put that energy back before you need the car again? Level 1 may suit shorter drives if you have a safe, suitable supply. Level 2 gives you more flexibility for longer drives, shorter stops at home or a second EV.
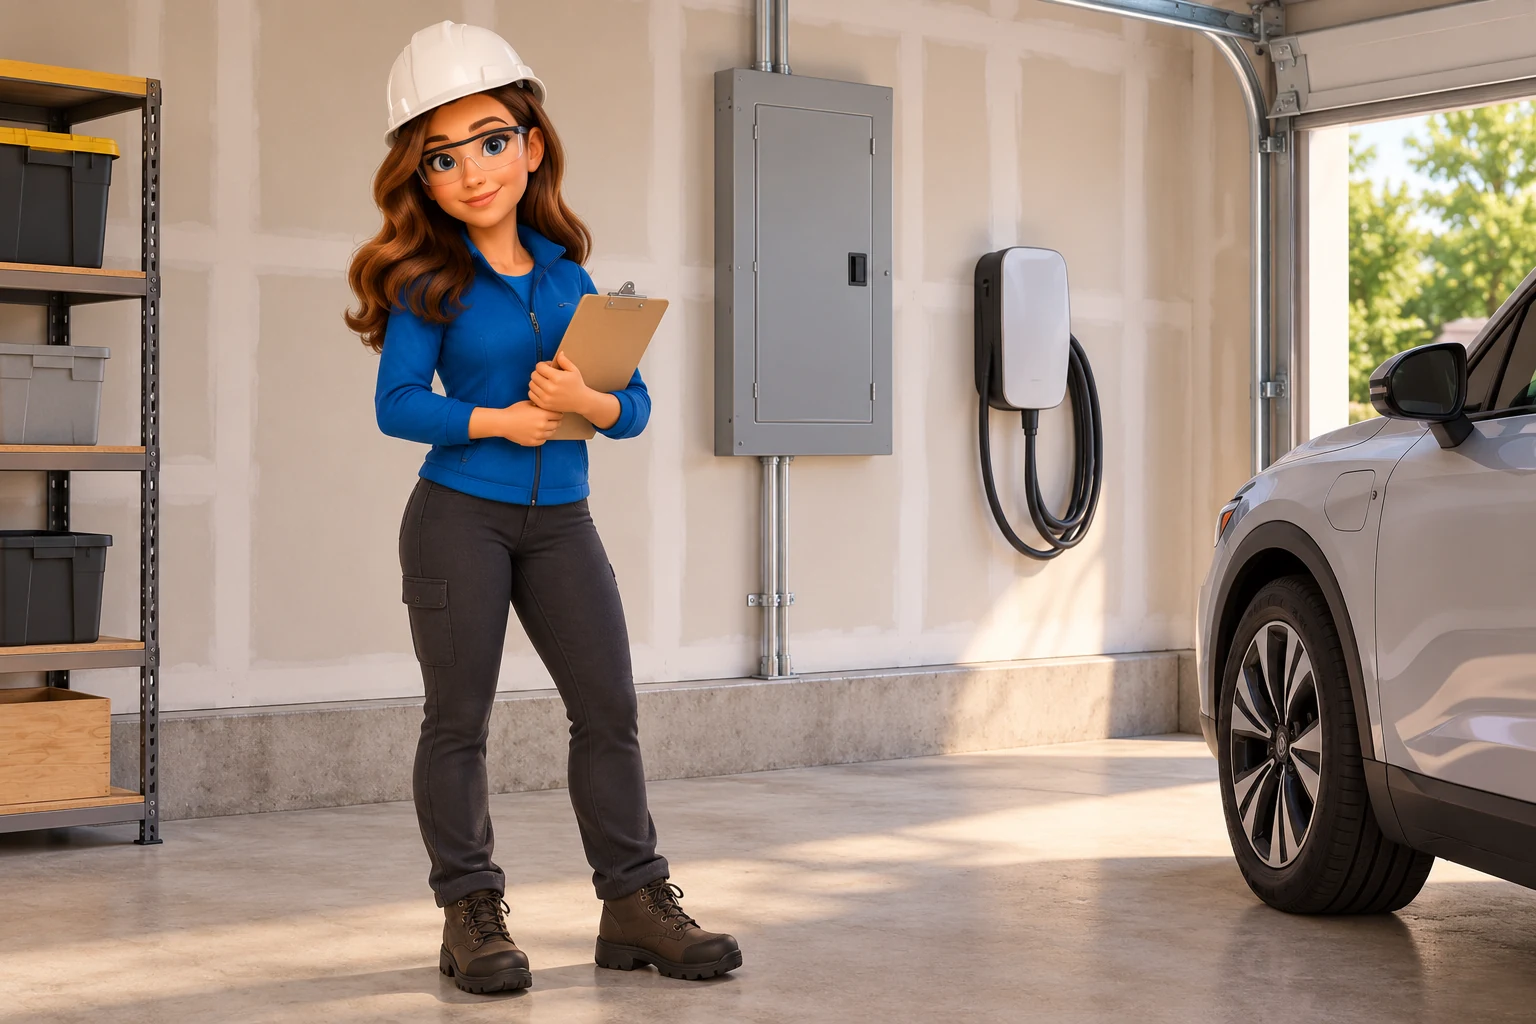
Check your car's AC charging limit and have an electrician assess the supply. Then use the worksheet below to compare your options. Our home EV charging guide covers equipment, installation and backup planning.
Compare Level 1 and Level 2 charging
| Question | Level 1 | Level 2 |
|---|---|---|
| Usual U.S. home supply | 120-volt AC | 240-volt AC |
| Main benefit | May cover shorter daily drives with a suitable, professionally checked circuit and approved charging cable | Can put more energy back while the car is parked |
| Installation question | Is the outlet, circuit and location suitable for long charging sessions? | What charging rate, circuit and controls can the home safely support? |
| Practical limit | A long drive or short night at home can leave the car short of charge | The car's limit, equipment settings or power controls may slow charging |
| Backup capability | This charging level alone doesn't provide home backup | This charging level alone doesn't provide home backup |
The EPA's home charging overview explains the levels, plugs and installation choices. Treat advertised miles added per hour as an estimate. A heavier car or cold weather can change the result.
Work out the energy you need each day
Start with a normal day's driving. Then try the calculation for a longer drive you make regularly. Energy is measured in kilowatt-hours (kWh). Check where your energy-use figure is measured: at the wall or at the battery. Some electricity is lost during charging, so those figures aren't the same.
If your figure measures battery energy: wall kWh needed = miles × battery kWh per mile ÷ charging efficiency. If it already measures wall energy: wall kWh needed = miles × wall kWh per mile. Don't add charging losses a second time.
Let's use a made-up example. Driving 40 miles at 0.30 battery kWh per mile uses 12 kWh from the battery. At 90% charging efficiency, replacing it takes about 13.33 kWh from the wall. A steady 1.44 kW charging rate would take about 9.26 hours. At a steady 7.2 kW, it would take about 1.85 hours.
These are example figures, not promised charging times. Battery heating or cooling, pauses, voltage and the car's own limits can make charging take longer. If your energy-use figure already includes charging losses, use it directly. The home charging cost worksheet explains how to check.
Check a full week, including the busy days
A small daily shortfall can build up. In this example, eight hours at 1.44 kW supplies 11.52 kWh from the wall. After the assumed losses, 10.37 kWh reaches the battery. That covers about 34.56 miles, less than the 40-mile day. Catching up over the weekend might work for you, but check that it fits your routine.
- How often do you get home without enough charge for the next morning?
- Will the car be plugged in for all those hours?
- Are the cheap-rate hours shorter than the time you need to charge?
- Do winter driving or towing regularly use more energy?
- Could planned public charging cover an occasional longer trip?
Check the charging limit for your exact car. A plug-in hybrid may accept less AC power than a fully electric car. A higher-rated wall unit can't make the car charge faster than its own limit.
Compare convenience and the full installed cost
Level 2 can make life easier after an unexpected trip or when cheap-rate hours are short. It may also help a household with another driver. Decide how much that flexibility matters before paying for a charging rate you won't use.
Compare the full price, including equipment, electrical checks, circuit work, permits and any power controls. A Level 2 charger set to a lower rate may meet your needs with less work. Ask the electrician whether that option suits your home. Our EV charger installation checklist gives you questions to ask.
Faster charging doesn't always mean a lower electricity bill. The equipment, battery heating or cooling, charging time and electricity plan all matter. Where possible, compare electricity drawn from the wall for similar driving and weather. Speed alone won't tell you how much energy you save.
Check the connection before using it
🛑 Electrical safety: You can't tell whether an outlet is safe for EV charging just by looking at it. Have an electrician check the supply. Use compatible, certified equipment as instructed, without an extension cord or multiplug adapter. Stop using a damaged or abnormally hot connection and get qualified help.
The U.S. Fire Administration's charging precautions also apply to portable equipment. A portable charger isn't safe to use in every outlet. Keep its cable clear of walking routes and vehicle damage. Follow the maker's instructions for weather and storage.
Know when you might need an upgrade
Level 1 may be enough if a safe setup covers your usual driving with time to spare. Consider Level 2 if you keep falling short, cheap-rate hours are too short or you change cars. Before buying for a second EV, work through the two-car charging plan. You may be able to share available power.
After installation, note your charge before leaving, missed sessions and unusually long driving days. Change normal user schedules only as the maker allows. Leave electrical settings and safety limits to the installer.
Conclusion
Compare the energy you need with the hours you can actually plug in. Then weigh the full installation cost against the extra flexibility. Choose a setup that works for your routine.
Explore our Energy Efficiency guides for more help with household electricity and upgrades.

Scott Harding
Scott is the main author of DIY Home Comfort. Learn more about the team and our approach on the About page.