Water Heater Leaking From Drain Valve: What to Check
Distinguish a drain-valve leak from safety relief discharge, make safe observations and understand the precautions required for repair and restart.
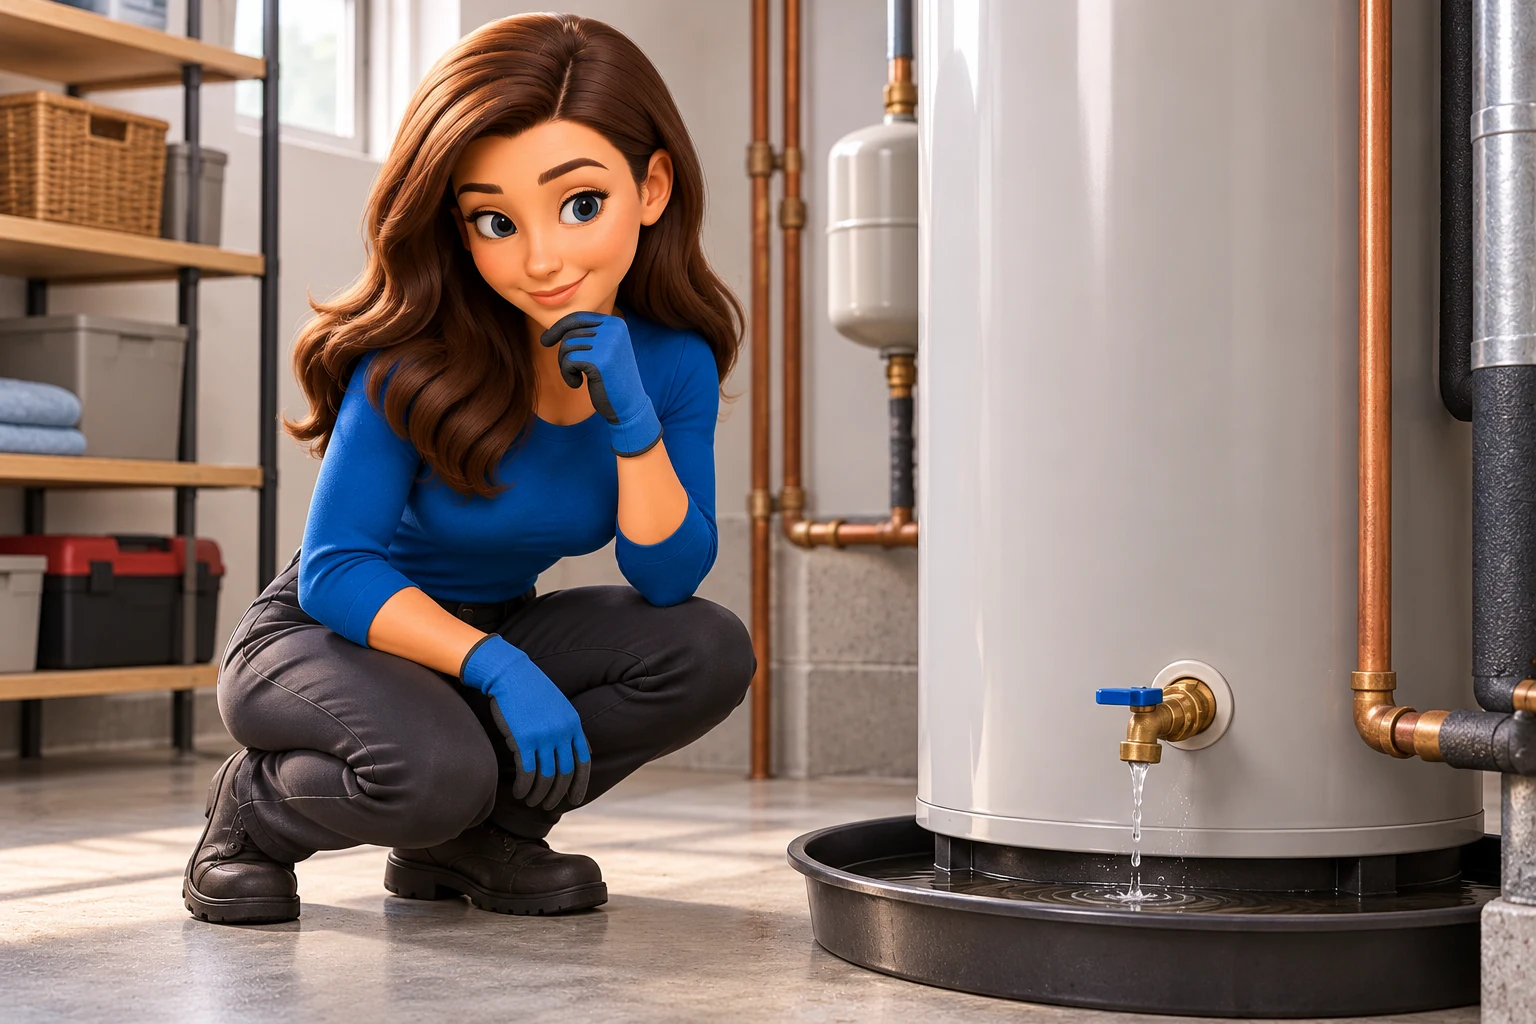
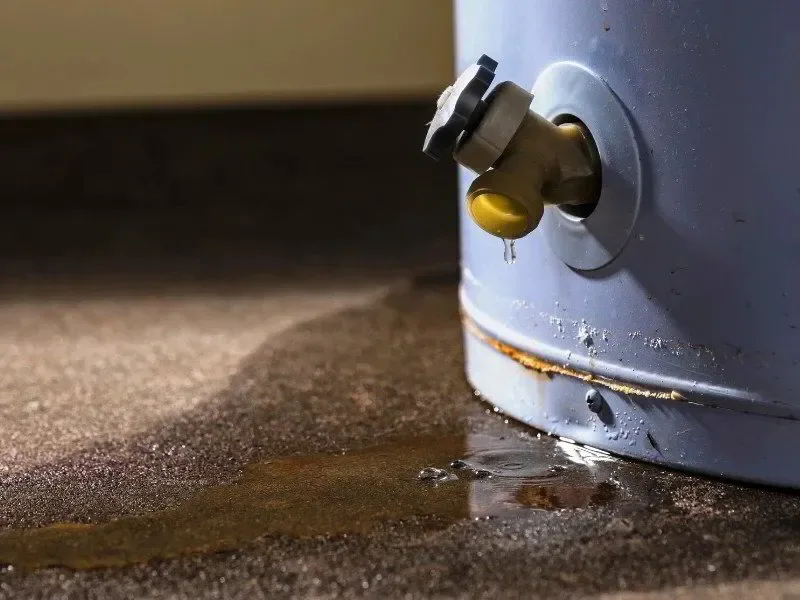
If your water heater is leaking from its drain valve, identify where the water is coming from before anyone tightens, caps or replaces a part. Water may be running down the jacket from another connection. The drain valve and temperature-and-pressure relief valve are separate components with different jobs.
🛑 Keep clear of hot discharge and wet electrical equipment. For an active leak, arrange prompt plumbing help and use only the safe shutdown instructions for your installed heater. If you smell fuel gas, leave and call emergency assistance and your utility from a safe location.
Identify the leaking component
| Where water appears | What it may involve | Next step |
|---|---|---|
| Outlet of the low-mounted drain valve | A valve that is not closing or sealing properly. | Have its condition and permitted repair assessed. |
| Where that valve joins the tank | The connection, valve body or surrounding tank area. | A plumber should distinguish the failed component before removal. |
| Relief-valve discharge pipe | The safety valve, water pressure, expansion or temperature. | Keep the discharge unobstructed and get a diagnosis. |
| Jacket, upper fittings or tank base | A different connection, condensation or tank leakage. | Trace accessible moisture without opening service panels. |
🛑 A. O. Smith's T&P leakage bulletin explains why relief-valve discharge can have several causes. Never cap, plug or obstruct that valve or its discharge pipe to stop a leak.
Make safe observations
- Record the model and symptoms. Note whether the leak is constant, follows heating or began after maintenance.
- Look from a dry, safe position. Photograph the visible outlet or connection without touching hot parts or wet wiring.
- Check for water arriving from above. A puddle beneath the drain does not prove that valve is responsible.
- 🛑 Report active damage promptly. Do not leave a leak running while trying several internet remedies.
🛑 Do not operate a breaker from a wet location or force a stuck shutoff. A professional can advise on safe isolation when access or the source is uncertain. Our hot-water troubleshooting guide helps describe a separate delivery problem.
Understand the service sequence
Valve replacement is more than unscrewing a fitting. The installed model's procedure must address the energy supply, cooling, water isolation, pressure release, controlled drainage, suitable replacement parts and restoration.
The heater must be filled and purged correctly before heat is restored, with connections checked for leakage. This applies to avoiding dry firing as well as preventing uncontrolled hot-water release. The required control and restart sequence differs between gas, resistance-electric and heat-pump products.
A. O. Smith's maintenance guidance provides the relevant precautions; use the instructions for the actual heater rather than treating another model's valve or pilot control as interchangeable.
🛑 Do not attempt a partially drained valve swap or assume a brass valve will fit and be suitable merely because it looks stronger. Have the plumber confirm the component, rating, connection and tank condition.
Ask about a drain cap before using one
A manufacturer-permitted cap on a confirmed drain outlet is a different question from obstructing a safety device. It cannot repair a cracked valve body, a leaking tank connection or a corroded tank. Do not use one to conceal an unidentified leak.
Tell the plumber whether the valve has recently been opened, whether it now drips from the outlet, and whether water is also present at the tank connection. That information is more useful than repeatedly tightening parts.
Prevent repeats
- Follow the model's maintenance schedule and water-quality requirements.
- Keep owner-accessible areas visible and service access clear.
- Report renewed leakage, corrosion or discharge instead of increasing tightening force.
- Ask what failed and how the completed repair was checked.
Conclusion
For a water heater leaking from its drain valve, confirm the component first and keep safety discharge paths open. Limit homeowner work to safe observation and model-permitted controls; have the repair and restart completed correctly.
Explore our Water Heaters guides for related maintenance and equipment decisions.

Scott Harding
Scott is the main author of DIY Home Comfort. Learn more about the team and our approach on the About page.