How to Remove a Shower Drain Cover Safely
Identify screws, clips or a model-specific drain cover before removal. Clean accessible hair without disturbing the sealed drain connection.
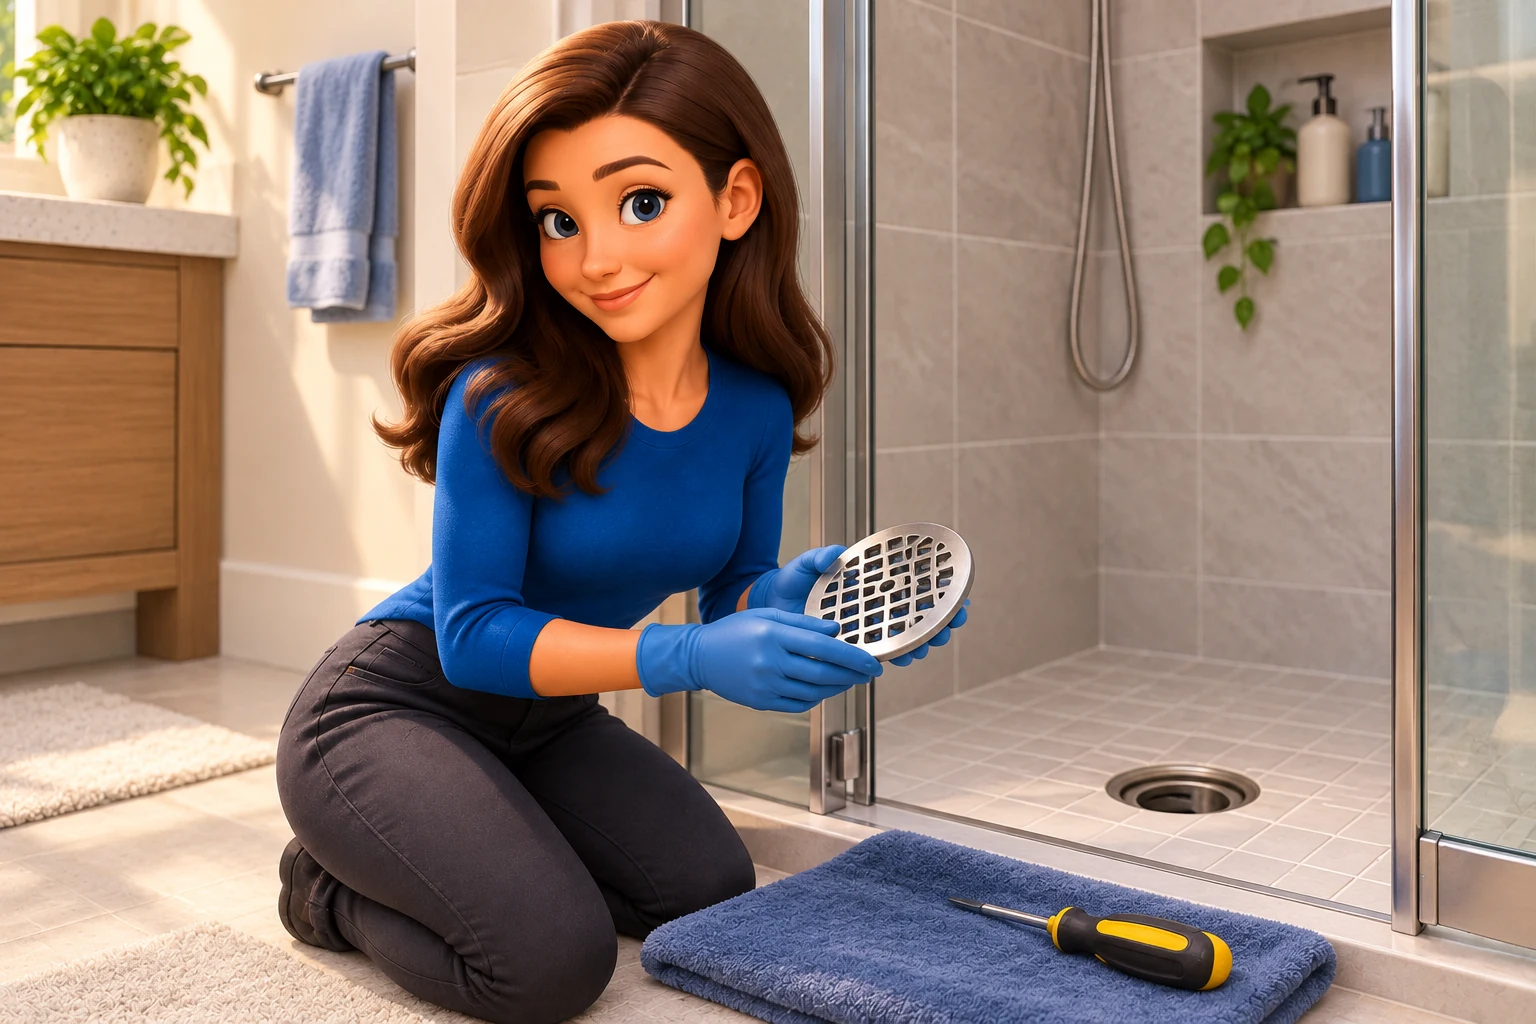
To remove a shower drain cover, identify how it is fastened before applying force. Some grates have visible screws; others snap into a frame or use a manufacturer-specific release. A tub stopper is a different assembly. Pulling or twisting the wrong part can damage the drain or its waterproof connection.
🛑 If drain cleaner is present, stop and follow its label before working near the opening. Standing water can conceal corrosive liquid. For a backing-up shower or several affected fixtures, start with our drain troubleshooting guide rather than dismantling the drain.
Identify the cover and attachment
| What you see | Likely attachment | Next step |
|---|---|---|
| Small screws through the grate | Screwed cover | Find the correct driver and support the screws so they cannot fall down the drain. |
| No screws and a removable grate shown in the manual | Snap-in or lift-out cover | Use the specified lifting point or removal tool. |
| A long channel or tile insert | Linear-drain grate or insert | Check the manufacturer’s instructions for lifting and cleaning. |
| A knob or moving stopper in a bathtub | Stopper mechanism | Identify the stopper model; do not assume it unscrews as a single piece. |
| A sealed ring or flange beneath the cover | Part of the drain body or waterproofing connection | Leave it in place for routine hair removal. |
Appearance alone is not enough to identify every mechanism. For example, Watco’s NuFit instructions describe a stopper secured by a suction cup. A universal “twist and pry” instruction would be inappropriate for that design.
Prepare the area
- Find a brand name, model number, installation record or matching manufacturer diagram.
- 🛑 Wear gloves suitable for the task and protect the shower surface from tools.
- Remove loose debris around the cover. Have a container ready for screws and a bag for hair.
- Use the tool specified for the fastener. A slipping driver can damage a screw and the surrounding finish.
🛑 Stop if a fastener is seized, the cover bends, the drain body moves or you cannot identify what releases. Removing sealant or loosening a drain flange can turn a cleaning job into a concealed leak.
Remove and clean a confirmed removable cover
- Release only the cover’s identified fasteners or clips, following its instructions.
- 🛑 Lift the grate gently and set the hardware aside. Do not use the drain body as a pry point.
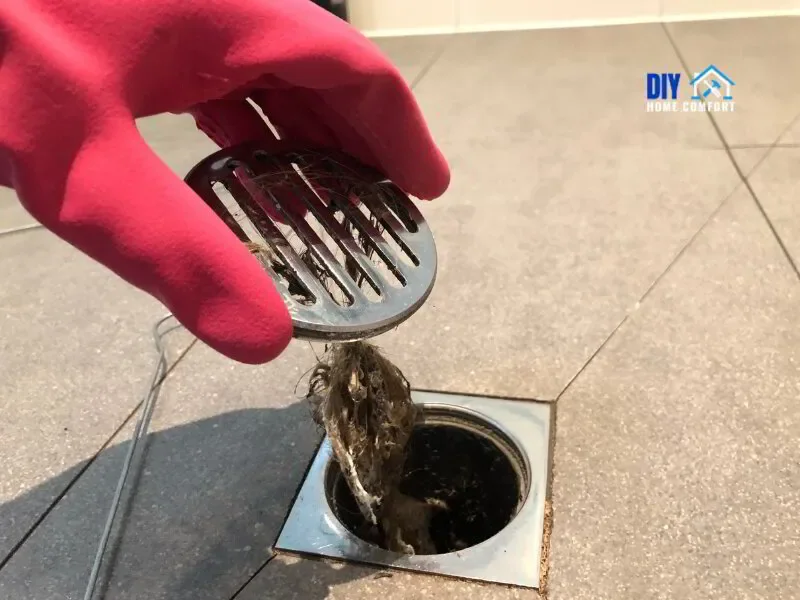
- Remove accessible hair with a suitable retrieval tool. Put it in the trash rather than pushing it into the pipe.
- Clean the grate with a finish-compatible method. Keep abrasive pads and unsuitable chemicals away from coated surfaces.
- Reinstall the cover and fasteners as specified, then check that it is secure and the shower drains normally.
🛑 Do not reach into an opening where sharp edges or hidden chemical residue are possible. A deeper obstruction may require a plumber’s equipment, particularly if the trap or drain connection is inaccessible.
Avoid damage and repeat blockages
🛑 A fizzing baking-soda-and-vinegar mixture is not a verified substitute for removing a hair blockage. Never add it, or any other cleaner, to a drain containing another chemical. Follow the exact product label and tell a plumber what has already been used.
- Use a compatible hair catcher that does not prevent drainage or seating of the grate.
- Clean accessible hair before flow becomes slow.
- Check for leaks or movement after reassembly.
- Investigate recurring odor through our bathroom smells guide; a clean grate does not resolve every trap, vent or sewer problem.
Conclusion
🛑 The safest way to remove a shower drain cover is to identify its attachment, release only the removable cover and leave the sealed drain assembly intact. Stop when parts resist or the mechanism is uncertain. Browse our plumbing guides for more safe cleaning and troubleshooting advice.

Scott Harding
Scott is the main author of DIY Home Comfort. Learn more about the team and our approach on the About page.