
Attic Insulation and Ventilation: An HVAC Efficiency Planning Guide
Plan attic insulation and ventilation together. Check the air boundary, moisture, duct conditions and access before committing to insulation work.

Before adding attic insulation and ventilation, find out how your attic is designed. Ask which layer separates the heated and cooled part of your home from outdoors or unconditioned spaces: the ceiling below the attic or the roof above it. Check for moisture problems too. Otherwise, new insulation may cover unresolved damage or leave air leaks in place.
In an unfinished, vented attic, the boundary is often the ceiling above your rooms. A conditioned or unvented attic uses a different assembly. Identify yours before following a general insulation recommendation or adding powered ventilation.
Identify the attic design before buying materials
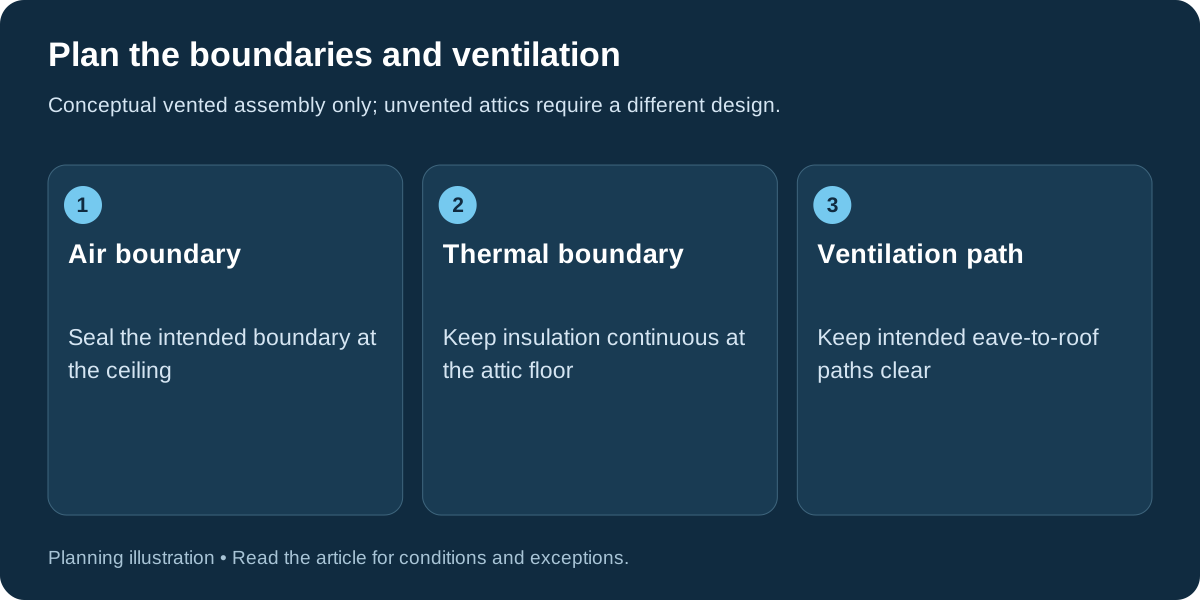
Ask the assessor to mark the intended insulation and air boundaries on a simple sketch. Is the boundary at the attic floor or along the roof? Are ducts and air-handling equipment inside or outside that boundary? Where does outdoor air intentionally enter and leave?
A mix of materials may not tell you how the attic was meant to work. Additions and partial renovations can leave disconnected boundaries. Ask how the proposed work will connect them so you don't end up with more isolated patches.
Keep your energy assessment and any roof or HVAC drawings together. A contractor should be able to explain the proposed attic treatment in relation to the house, not merely quote a number of bags of insulation.
Resolve existing conditions before covering them
Ask a professional to check for water staining, active leakage, damaged materials, exhaust terminations and electrical concerns. They should also note limits on safe access. Professional photos can show you the conditions without asking you to cross an unfamiliar attic.
ENERGY STAR’s attic air-sealing project guide flags conditions that may require professional help. Treat the attic as a building assembly with safety constraints, not as empty storage space waiting to be filled.
- Ask who will diagnose and repair moisture sources.
- Confirm where bathroom and other exhaust ducts terminate.
- Identify required clearances around equipment, fixtures and venting components.
- Ask whether materials must be assessed before disturbance.
- Plan how workers will protect access routes and avoid damaging ceilings.
Do not proceed on the assumption that insulation will dry wet materials or solve a roof leak. Resolve the cause and confirm readiness before the area becomes harder to inspect.
Coordinate air sealing and insulation
In a vented attic with the boundary at the ceiling, air leakage through that boundary and inadequate insulation are separate findings. The contractor should identify which locations need sealing before new insulation obscures them.
Read air sealing versus insulation for the underlying distinction. Ask the installer how the hatch, transitions and penetrations will be handled while preserving required clearances and intended air paths.
Ask the installer to specify insulation for your assembly, its current condition and the applicable requirements. Depth alone isn't enough; the material and its rated performance matter too. Ask how the crew will document coverage, gaps, compression and access.
Preserve the intended ventilation paths
In a vented attic, keep the designed ventilation route clear. Ask the contractor to show the inlet and outlet paths and explain how they'll keep insulation from blocking them. Your attic's design may differ from a layout you've seen elsewhere.
ENERGY STAR’s attic ventilation guidance explains the importance of clear soffit pathways and warns that powered attic fans can draw conditioned air from a poorly separated house. A hotter attic does not by itself prove that a powered fan is the right fix.
If a fan is proposed, ask what problem it solves, what evidence supports it and how its interaction with the house will be evaluated. Our existing attic-fan article is a separate equipment discussion; the boundary and ventilation assessment should come first.
Include ducts and equipment in the project scope
When ducts occupy an unconditioned attic, ask whether their condition will limit the benefit of the insulation project. Document disconnected sections, damaged jackets and access requirements before the attic is harder to navigate.
The duct sealing and insulation guide separates leakage, heat transfer and airflow problems. Ask whether the trades need to complete duct work before the attic insulation installation and who verifies that equipment remains serviceable.
Leave plans to bury ducts or convert to an unvented assembly to an appropriate designer. Those changes affect moisture, thermal boundaries and other building conditions. If you're getting a simpler insulation quote, ask exactly what it changes and what it leaves in place.
Use a proposal checklist and a completion record
| Before work | At completion |
|---|---|
| Boundary and ventilation sketch | Photos showing the intended work and clear pathways |
| Moisture and repair findings | Record of resolved conditions and remaining limitations |
| Air-sealing locations and appropriate materials | Inspection or agreed leakage-test results |
| Insulation specification | Coverage and installed-condition documentation |
| Equipment and access requirements | Confirmation that service access is preserved |
Record comfort observations and energy use afterward using the bill baseline guide. Compare similar conditions and keep weather and household changes in view.
For a roof project or HVAC replacement deadline, use the upgrade-order guide to coordinate the trades. The home energy efficiency roadmap explains how attic work fits into the larger plan.
Understand soffit vents, ridge vents, baffles and R-value
Soffit vents are openings at the roof eaves. A ridge vent is an outlet along the roof's ridge. Rafter vents, also called baffles, help keep a passage clear at the eaves so insulation doesn't block airflow. Ask your contractor to show how your attic's inlet and outlet arrangement works.
Key Distinction
What R-Value Measures
Heat ResistanceR-value tells you how much insulation resists heat flow. It doesn't measure attic ventilation. Ask separately how the contractor chose the insulation level and how the work will preserve the assembly's ventilation paths.
If condensation or wet materials are present, investigate the moisture source before adding insulation. Do not treat a powered fan, more vents or a larger R-value as an automatic cure.
Conclusion
Begin with your attic's intended boundary and current condition. Fix moisture and repair problems first. Then coordinate air sealing and insulation while keeping the required ventilation paths and equipment access clear.
Plan the improvements around the rest of your home: keep exploring our Energy Efficiency articles for related advice on comfort, energy use and upgrade priorities.

Scott Harding
Scott is the main author of DIY Home Comfort. Learn more about the team and our approach on the About page.