
Duct Sealing vs Duct Insulation: Which Problem Are You Solving?
Compare duct sealing vs duct insulation. Learn how leakage, heat transfer and airflow differ, what to ask a contractor and how to verify the work.
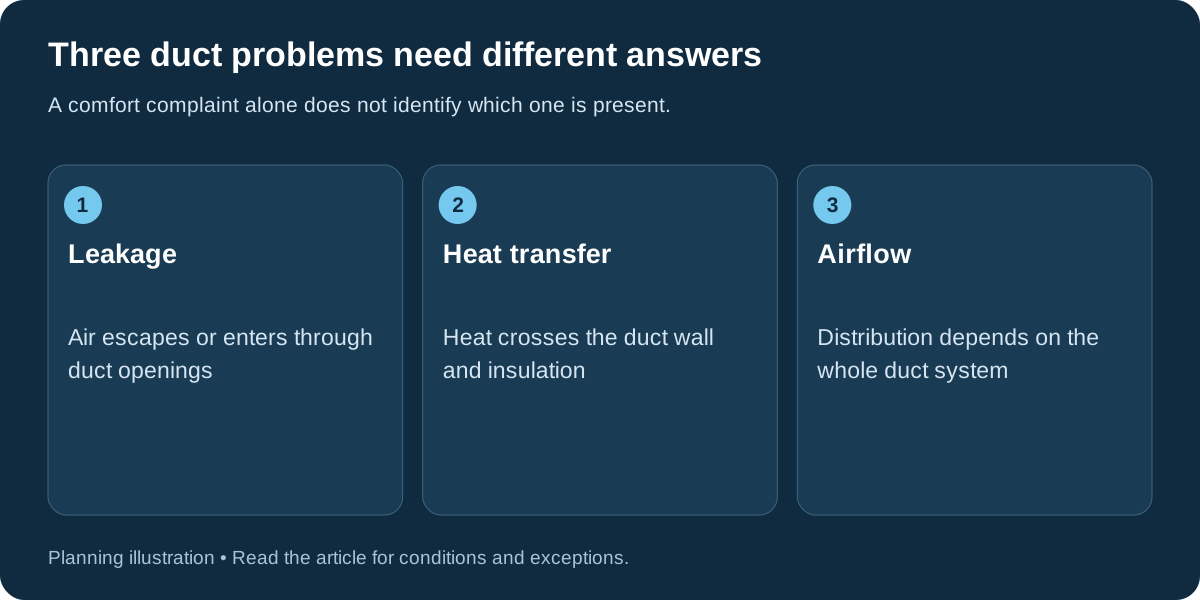
Duct sealing and duct insulation fix different types of energy loss. Duct sealing addresses air escaping through leaks and poorly connected joints. Duct insulation limits heat transfer between the air inside a duct and the space around it. You may need both, especially where ducts run outside the heated and cooled part of your home, called conditioned space.
Ask what evidence supports either service before you buy it. A room that's hard to cool may have a leaking branch, restricted airflow, too much solar gain or another problem. Wrapping a duct won't reconnect a joint. Sealing a joint won't fix inadequate thermal protection.
Separate leakage, heat transfer and airflow
| Problem | What changes | Potential response |
|---|---|---|
| Air leakage | Conditioned air leaves the intended path, or unwanted air enters it | Locate and seal suitable joints or repair damaged connections |
| Heat transfer | Duct air gains or loses heat through the duct assembly | Evaluate insulation coverage and condition |
| Airflow restriction | The duct system does not deliver the intended airflow | Investigate sizing, kinks, damage, filters and pressure relationships |
ENERGY STAR’s duct-sealing guidance identifies leaks, holes and poor connections as common sources of distribution loss. Its guidance also distinguishes durable sealing materials from ordinary cloth duct tape. This is a reason to request a material specification, not a reason to assume every visible seam should be treated by the homeowner.
Identify where the ducts actually run
Find out where the supply and return paths run: attic, crawlspace, garage, basement or conditioned rooms. Leakage outside the conditioned boundary may have different effects from leakage inside it. The location also affects access, moisture exposure and what work is practical.
Do not assume a basement or attic is conditioned simply because it feels less extreme than outdoors. Ask the assessor where the building’s intended thermal and air boundaries lie. The air-sealing comparison explains why that distinction matters.
🛑 Photograph only safely accessible areas. Do not remove insulation jackets, enter confined spaces, move wiring or open equipment to find the route. A contractor can document hidden sections and state what cannot be inspected without additional access work.
Match the test to the complaint
Tell the contractor which rooms are uncomfortable, whether the problem changes with door position, and whether it happens in heating, cooling or both. Ask for an assessment of supply and return paths rather than a recommendation based only on the outdoor unit’s age.
Duct-leakage testing measures leakage under specified test conditions. Ask whether the result covers total leakage or leakage to outside. Check the units and what the acceptance target means for your project. If airflow is the concern, ask which airflow and pressure measurements the contractor will take.
Use a home energy assessment when the complaint could involve both the building and the duct system. Avoid paying for a diagnostic label that never leads to an explanation of the measured problem.
Resolve damage and leakage before concealing the system
Ask the contractor to identify damaged, disconnected, kinked or unsupported sections before installing new insulation. Confirm which repairs are included, how joints will be sealed and how the finished insulation will remain continuous.
For metal ducts, PNNL’s sealing and insulation guidance discusses both thermal protection and moisture control. A duct’s exterior vapor-control layer and the condition of the insulation matter when cold surfaces are exposed to humid air.
Ask how the crew will handle penetrations, supports, connections and access panels. A quote that just says “add wrap” leaves too much unclear. Find out how they'll avoid gaps, compression and damaged jackets in the finished work.
Avoid changes that hide the original problem
Closing many registers to force air into one room is not a substitute for diagnosis. Nor should a larger replacement system be the default response to poor distribution. Ask the contractor how proposed changes affect airflow and operating conditions across the whole system.
🛑 Do not cover equipment panels or required access, seal combustion vents or treat all pipes as HVAC ducts. If you cannot confidently identify a component, leave it for the appropriate trade. Suspected hazardous insulation or contamination also needs assessment before disturbance.
For a hot upper floor, review the attic planning guide and cooling-load checklist alongside the distribution findings. Several mechanisms can produce the same room-temperature complaint.
Specify how completion will be demonstrated
Get a written record of the locations treated, materials used and areas the crew couldn't access. Include the pre-work findings and agreed post-work checks. If leakage testing is included, keep the before-and-after results with their conditions and units. For an airflow problem, ask for the relevant airflow measurements.
Also verify the practical outcome: are the affected rooms more comfortable under comparable conditions, and do new noises, moisture or operating concerns need follow-up? A single lower utility bill does not prove that every connection is sealed.
Coordinate this work with the upgrade sequence if HVAC replacement is planned. The energy-efficiency hub brings the duct findings together with envelope, equipment and future electrical needs.
Ask about mastic, metal tape and insulation condition
A duct-sealing proposal may specify mastic sealant or suitable metal tape for the intended connections. Ask the contractor to identify the appropriate product and installation method for the duct material. Ordinary cloth duct tape is not the durable substitute its name might suggest.
For duct insulation, ask for the appropriate R-value and continuous coverage. Thickness alone won't tell you how well the job is done. Check how the crew will protect and repair the exterior vapor-control layer. Condensation on a cold duct needs a moisture investigation before anyone simply adds another layer.
Use these questions to discuss the job with your project team. Leave equipment closed and unknown insulation undisturbed. Coordinate repairs, sealing and insulation so the finished system stays accessible for service.
For room-control questions, understand airflow before closing registers rather than treating register closure as a substitute for duct diagnosis.
Conclusion
Start with the measured problem: duct leakage, heat transfer or airflow. Ask the contractor how the proposed work will address it and how they'll document the result. That gives you more to compare than a general promise of better comfort.
Keep reading in our Energy Efficiency category to see how duct performance fits with envelope improvements, HVAC operation and your wider upgrade plan.

Scott Harding
Scott is the main author of DIY Home Comfort. Learn more about the team and our approach on the About page.