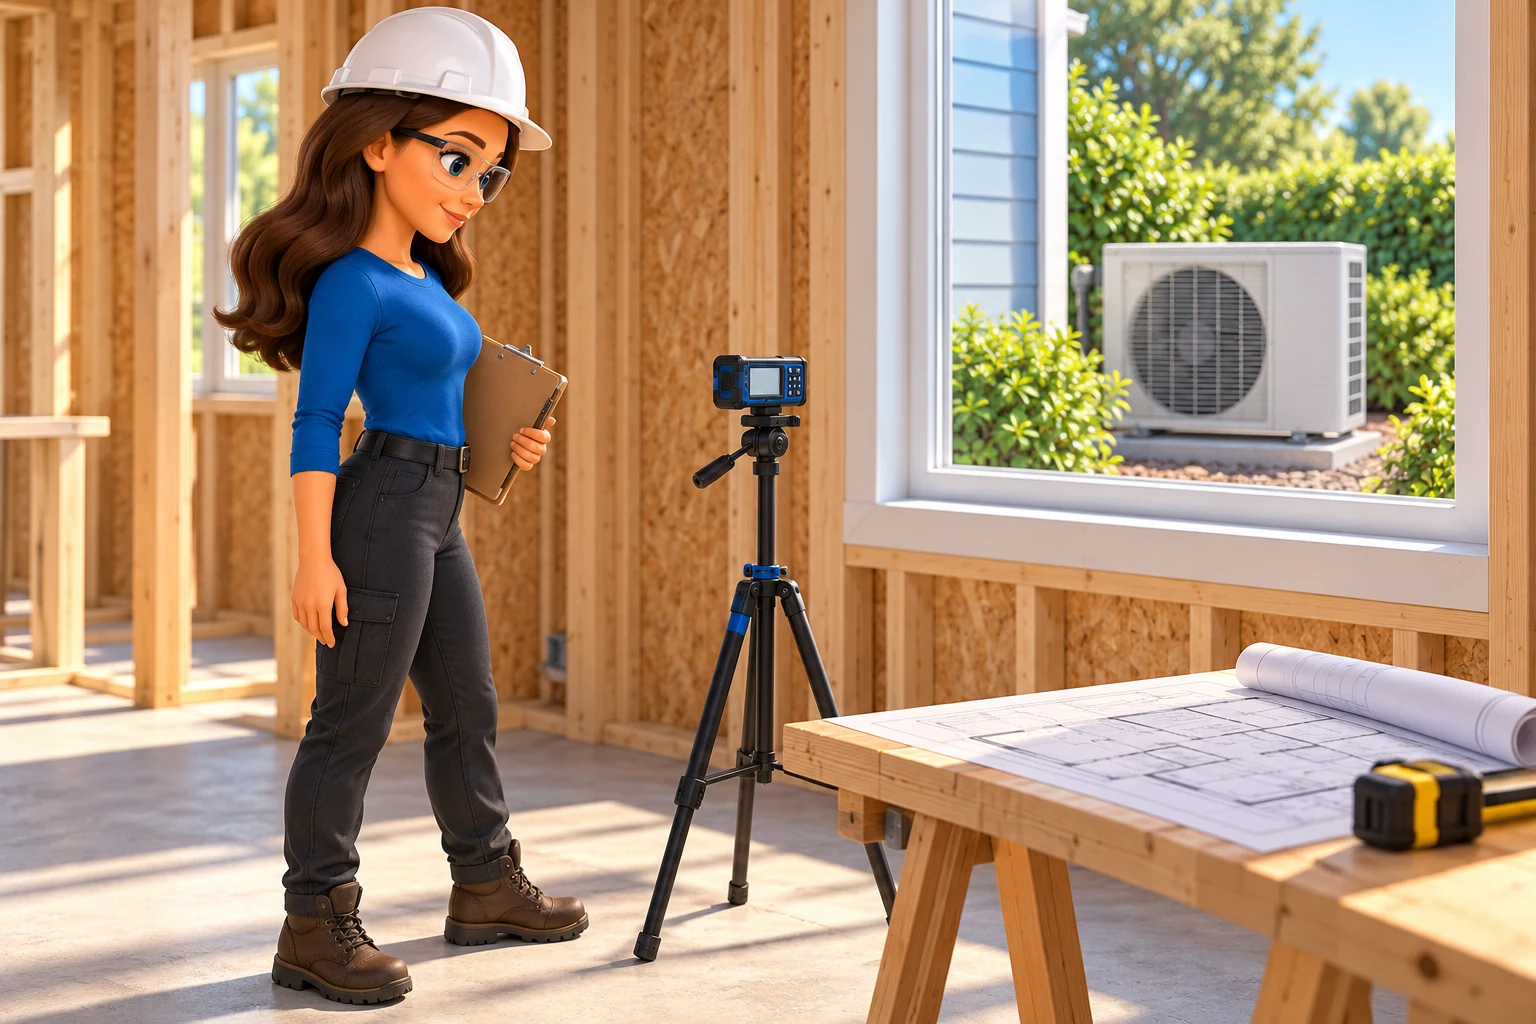
Where to Install a Heat Pump: Indoor and Outdoor Planning
Plan heat-pump locations around airflow, room loads, snow, defrost drainage, service access and model-specific installation requirements.
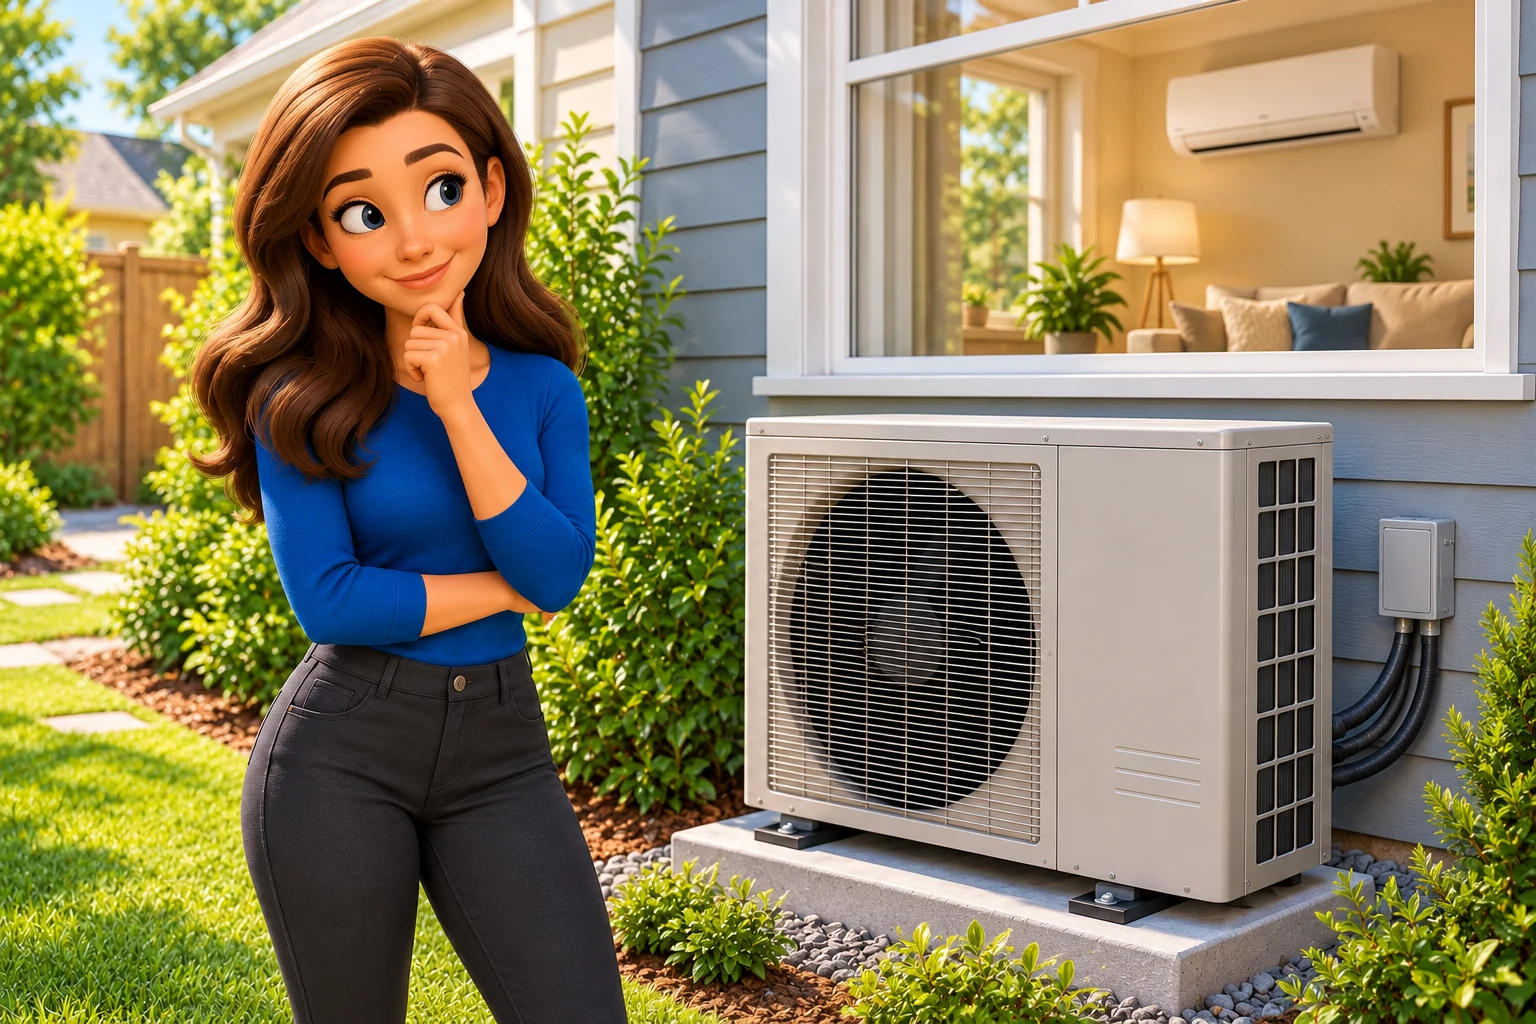
Choose a heat-pump location where the indoor and outdoor components can supply the heating or cooling your home needs, maintain the required airflow and leave room for safe servicing. The right location depends on the exact model, distribution system, climate and layout of your home.
Plan outdoor airflow and access
Have the installer identify every required intake, discharge and service clearance in the equipment manual. Wall-mounted, side-discharge and top-discharge units need different treatment. A general distance from a wall or fence cannot replace those instructions.
The PNNL ductless heat-pump guide covers indoor coverage, outdoor placement and installation considerations. Use the actual equipment documentation and local requirements for dimensions and mounting.
🛑 Do not place dense screening, stored items or a cover in the air path. Consider nearby equipment, recirculated discharge air, vibration, bedrooms, neighbors and a practical service approach.
Account for winter water and snow
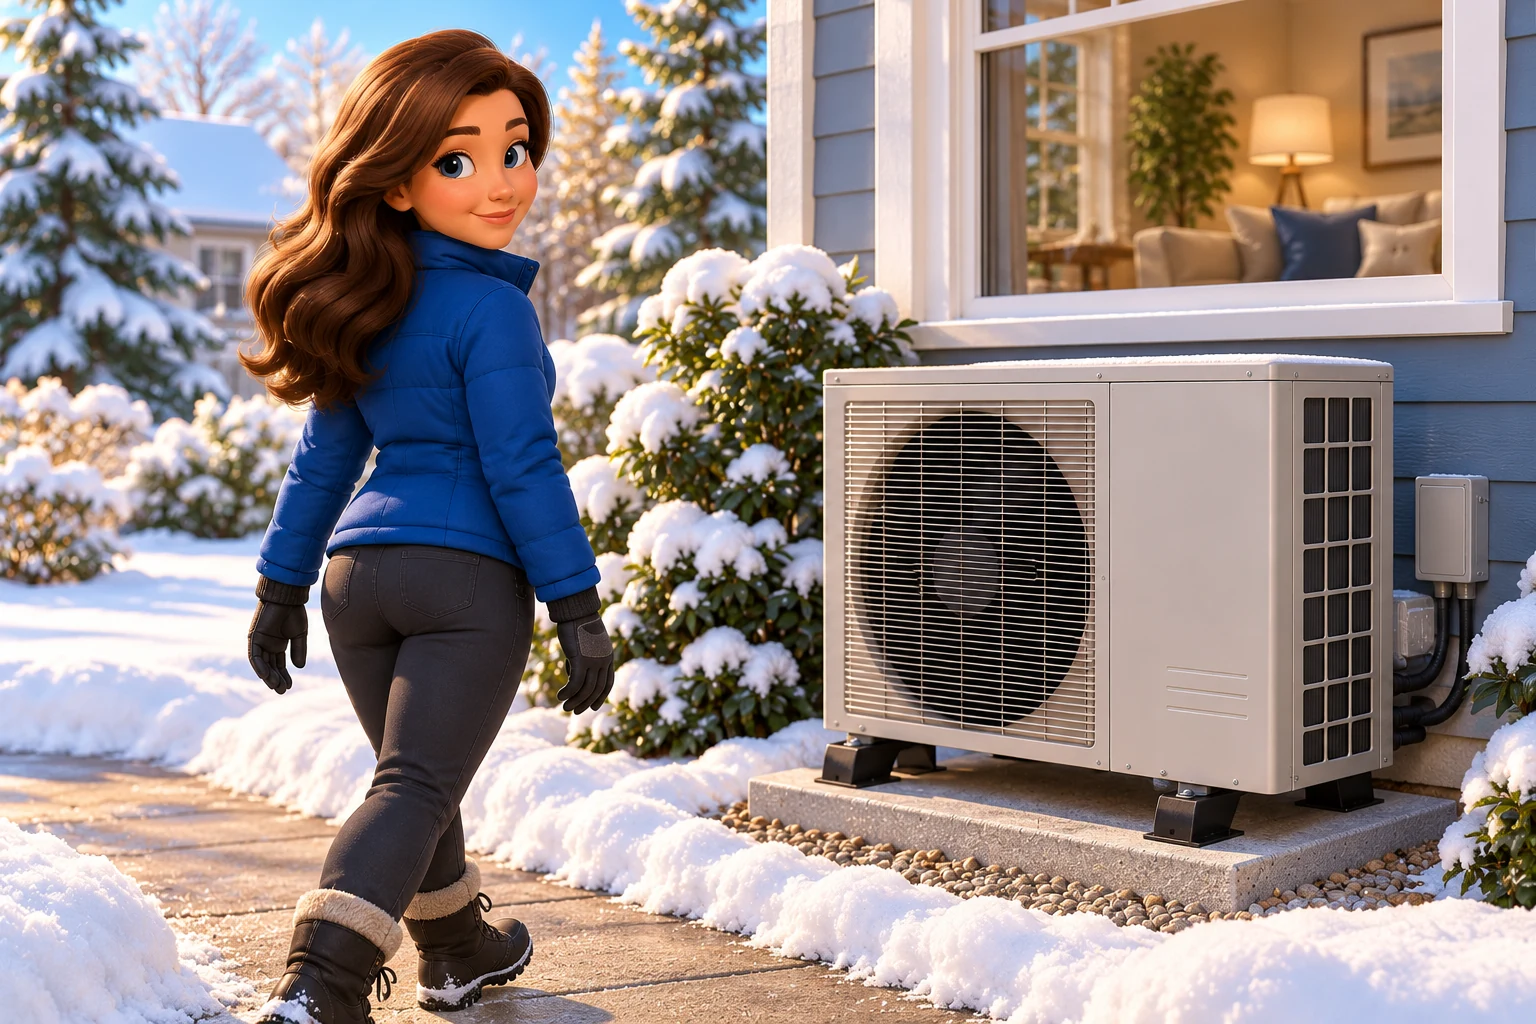
Heating operation can create frost on the outdoor coil; defrost produces water that must drain without creating an ice hazard or damaging the unit. Roof runoff and snow accumulation can add to the problem.
🛑 The support height and drainage arrangement should suit expected site conditions and the manufacturer's requirements. A small generic elevation above the ground is not adequate evidence of snow protection. Avoid discharging meltwater onto a walkway or allowing a frozen drainage path to block the equipment.
Locate indoor units by room loads
| Indoor arrangement | Planning concern |
|---|---|
| One wall-mounted head | Whether air can reach the served space without blocked discharge or an uncomfortable draft |
| Several heads | Room-by-room loads, minimum output, approved combinations and control interaction |
| Ducted air handler | Duct sizing, return paths, leakage, static pressure and access |
| Concealed or ceiling unit | Service access, condensate removal and suitable structural support |
A head in a hallway does not automatically condition bedrooms behind closed doors. Furniture and decorative covers must not block inlets, outlets, sensors or filter access. Condensate requires a designed route; it cannot be assumed to drain wherever the refrigerant lines fit.
Check the complete connection route
The installer must verify allowed line length and lift, piping sizes, charge requirements, electrical supply, penetrations and drainage. Indoor mounting height and clearances are model-specific too. Do not select a generic six-inch ceiling gap as an installation rule.
Compare complete options using heat-pump installation quotes. An attractive location that prevents service or violates line limits is not a practical option.
Verify the installed result
Ask for model matches, capacity selection, airflow or room-delivery checks, condensate testing and the final control setup. Retain photos and measured results using our commissioning checklist.
Comfort examples should be supported by actual project records. The location checklist is planning guidance, not a claim that an unnamed installation or a single head has been field-proven to serve every home.
For the next planning step, see how does a heat pump water heater work and why does my hot water run out so fast.
Conclusion
Choose indoor and outdoor locations together. Combine room loads and distribution with manual-specific clearances, snow and water management, and safe access before approving the installation.
Continue with our heat-pump guides for related homeowner decisions.

Scott Harding
Scott is the main author of DIY Home Comfort. Learn more about the team and our approach on the About page.